Propeller Arm Sweeper Guide
Please Log In for full access to the web site.
Note that this link will take you to an external site (https://shimmer.mit.edu) to authenticate, and then you will be redirected back to this page.
If you have not already downloaded the 6310_PROP_24_SWEEP sketch for running the frequency sweeper on the doubly-driven propeller arm, download it from here and unzip it.
Edit the 6310_PROP_24_SWEEP sketch and set the amplitude of the \theta_d sinusoid. The easiest way to do that is to set a nonzero value of offsetAmp on line 45. A good choice is 0.05, and is shown in the line below.

Continue editing the 6310_PROP_24_SWEEP sketch to set TSSS (the time the sweeper waits at each frequency to achieve steady state) to 4.0 (on line 131), as shown in the image below.

Continue editing the 6310_PROP_24_SWEEP sketch to set MODE to 3 (on line 19), as shown in the image below, to run the frequency sweeper and print formatted output to the serial monitor.

We strongly recommend that you first set the MODE to 1, connect both the 5V usb and the high current 5v power supplies to the controller board and connect your laptop to the Teensy. Then upload the sweeper and plot the waveforms using the arduino serial plotter. You will see the sine waves being plotted, and this will both: insure that your system is set up correctly and clarify how the sweeper works. Then switch the mode to 3 and open the serial printer window as described below.
RUN THE SWEEPER FOR MULTIPLE SWEEP CYCLES AND DO NOT USE THE FIRST FEW POINTS!! The data is noisy, so you will be able to get a better fit if you average the data from several sweeps. And the first few points often have start-up anomolies, so drop them.
Connect both the 5V usb and the high current 5v power supplies to the controller board and connect your laptop to the Teensy. Upload your edited 6310_PROP_24_SWEEP sketch to the Teensy, and start the serial monitor (not the plotter, unless you are testing and had set the MODE to 1).
Use the send window at the top of the serial monitor window to set desired gains. The arm should begin oscillating, and will eventually start printing lists of numbers in the serial plotter window. See the video below.
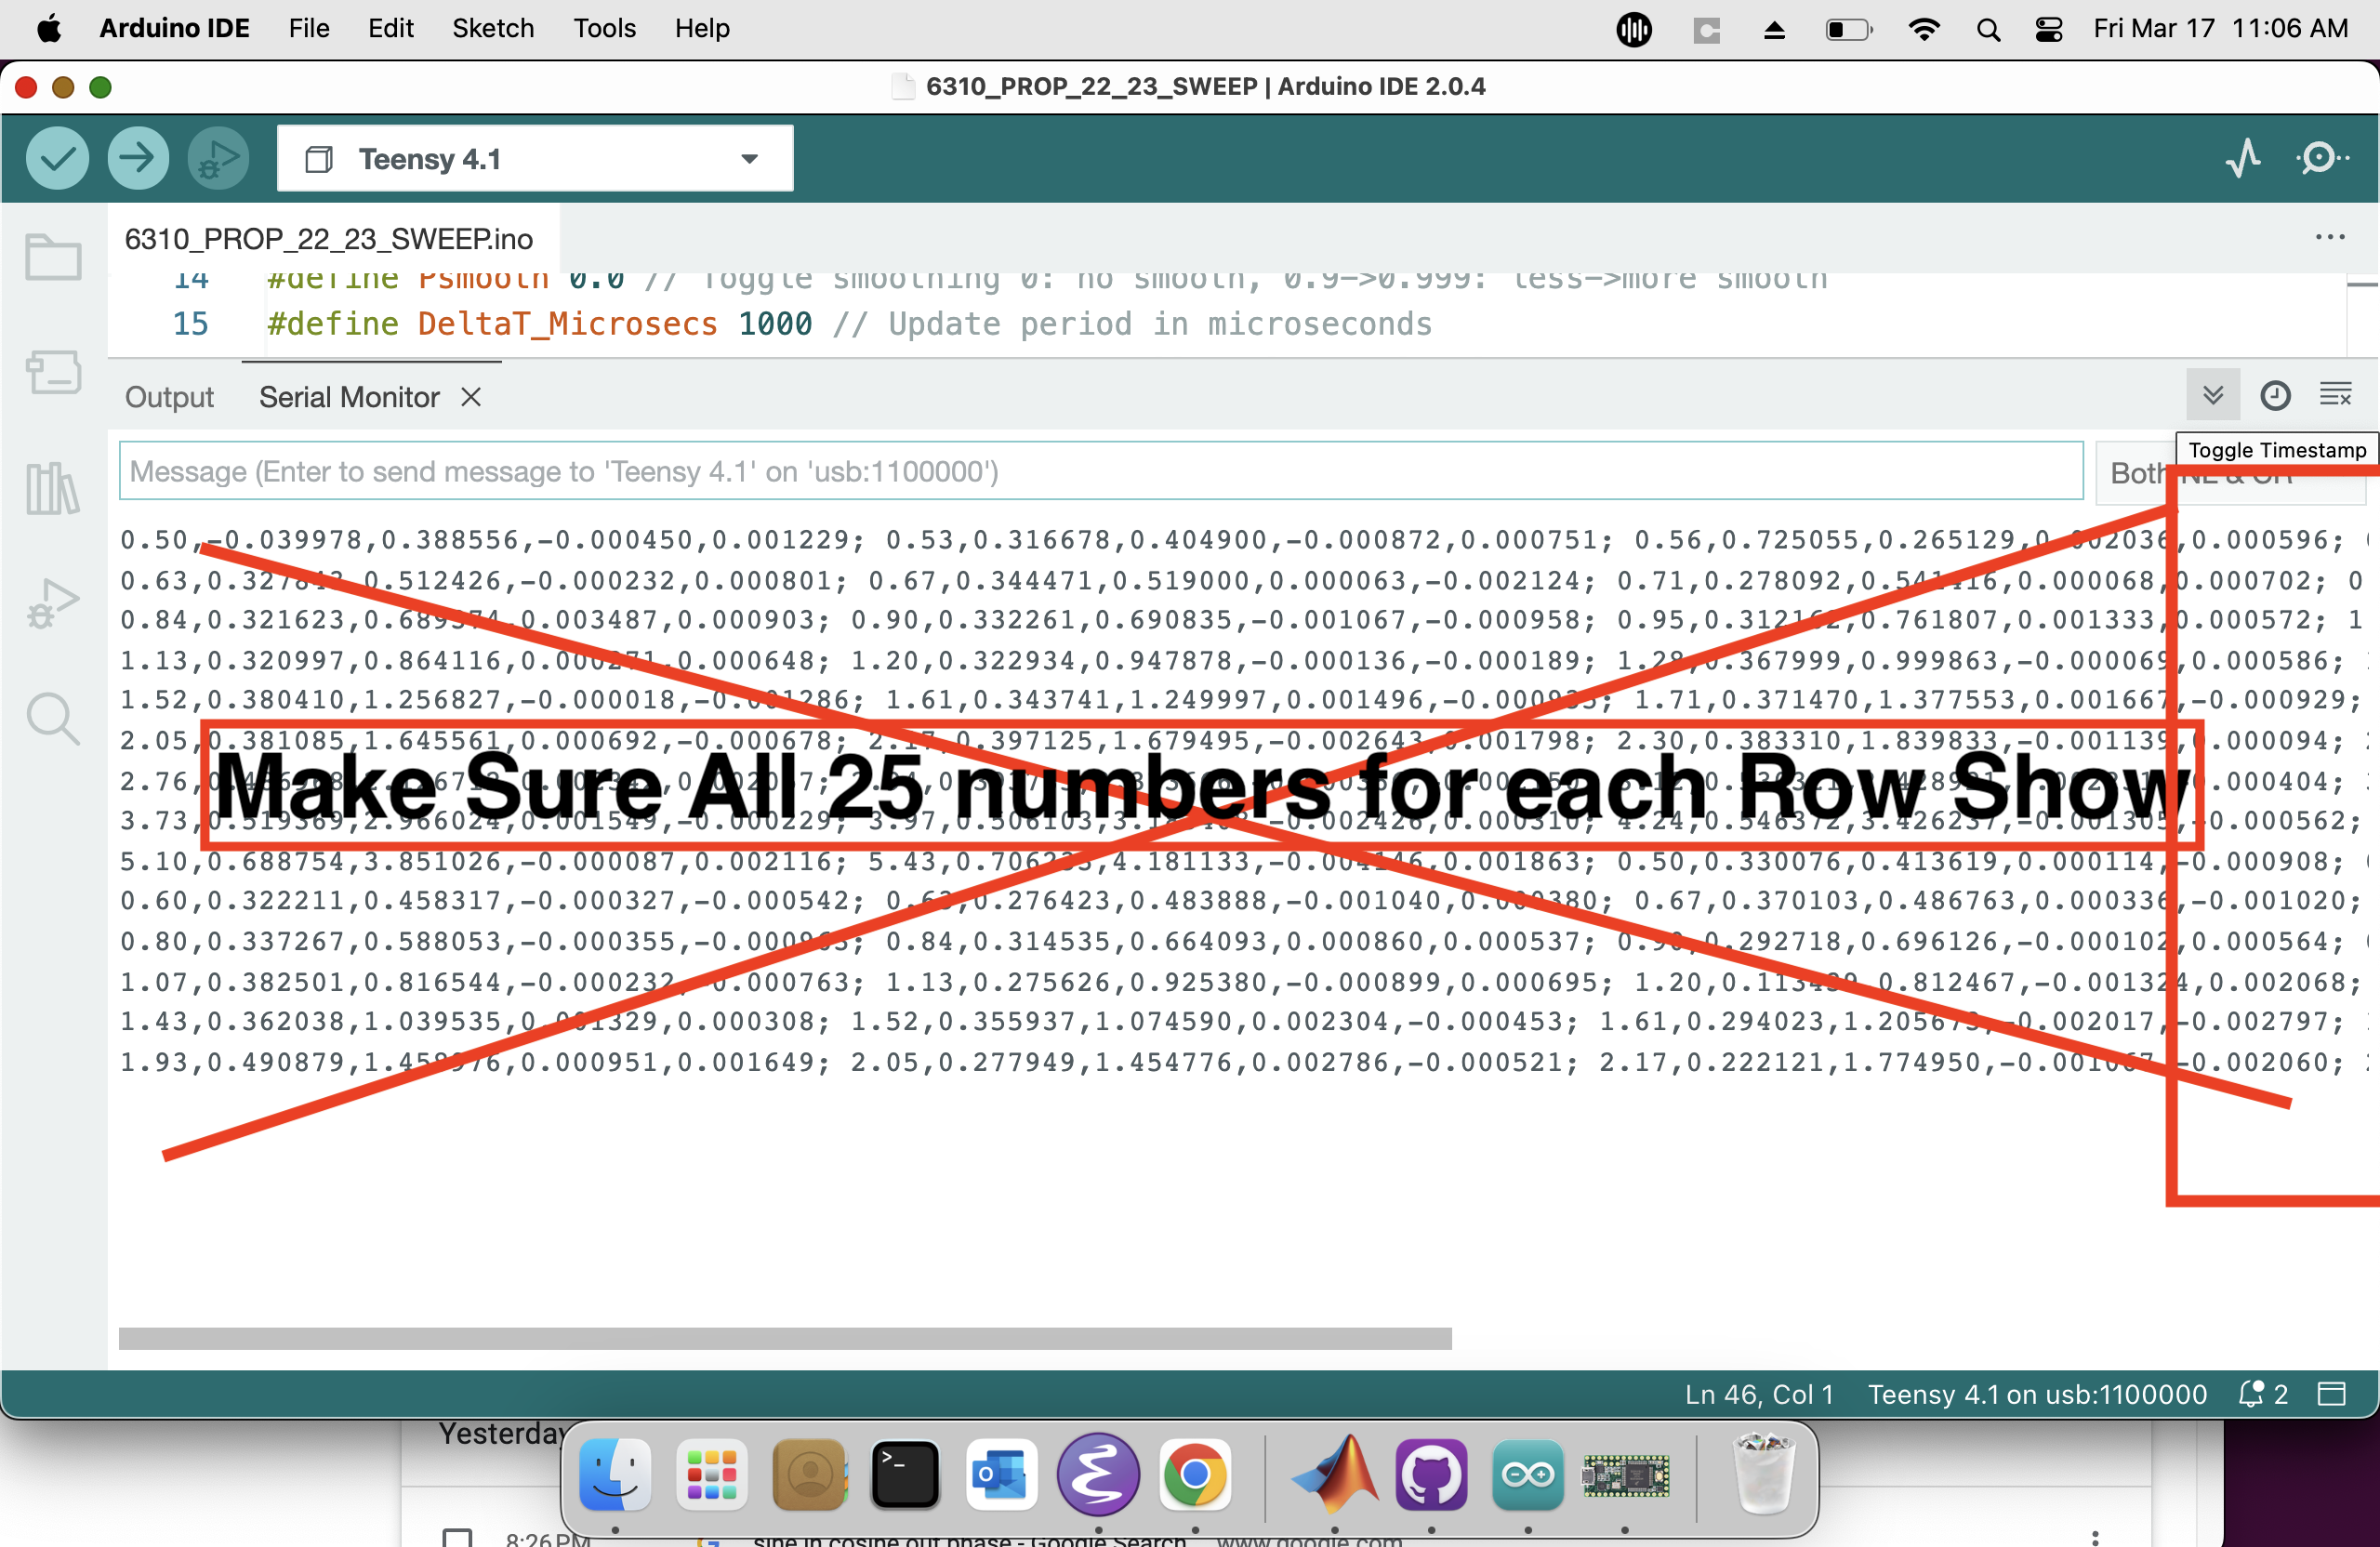
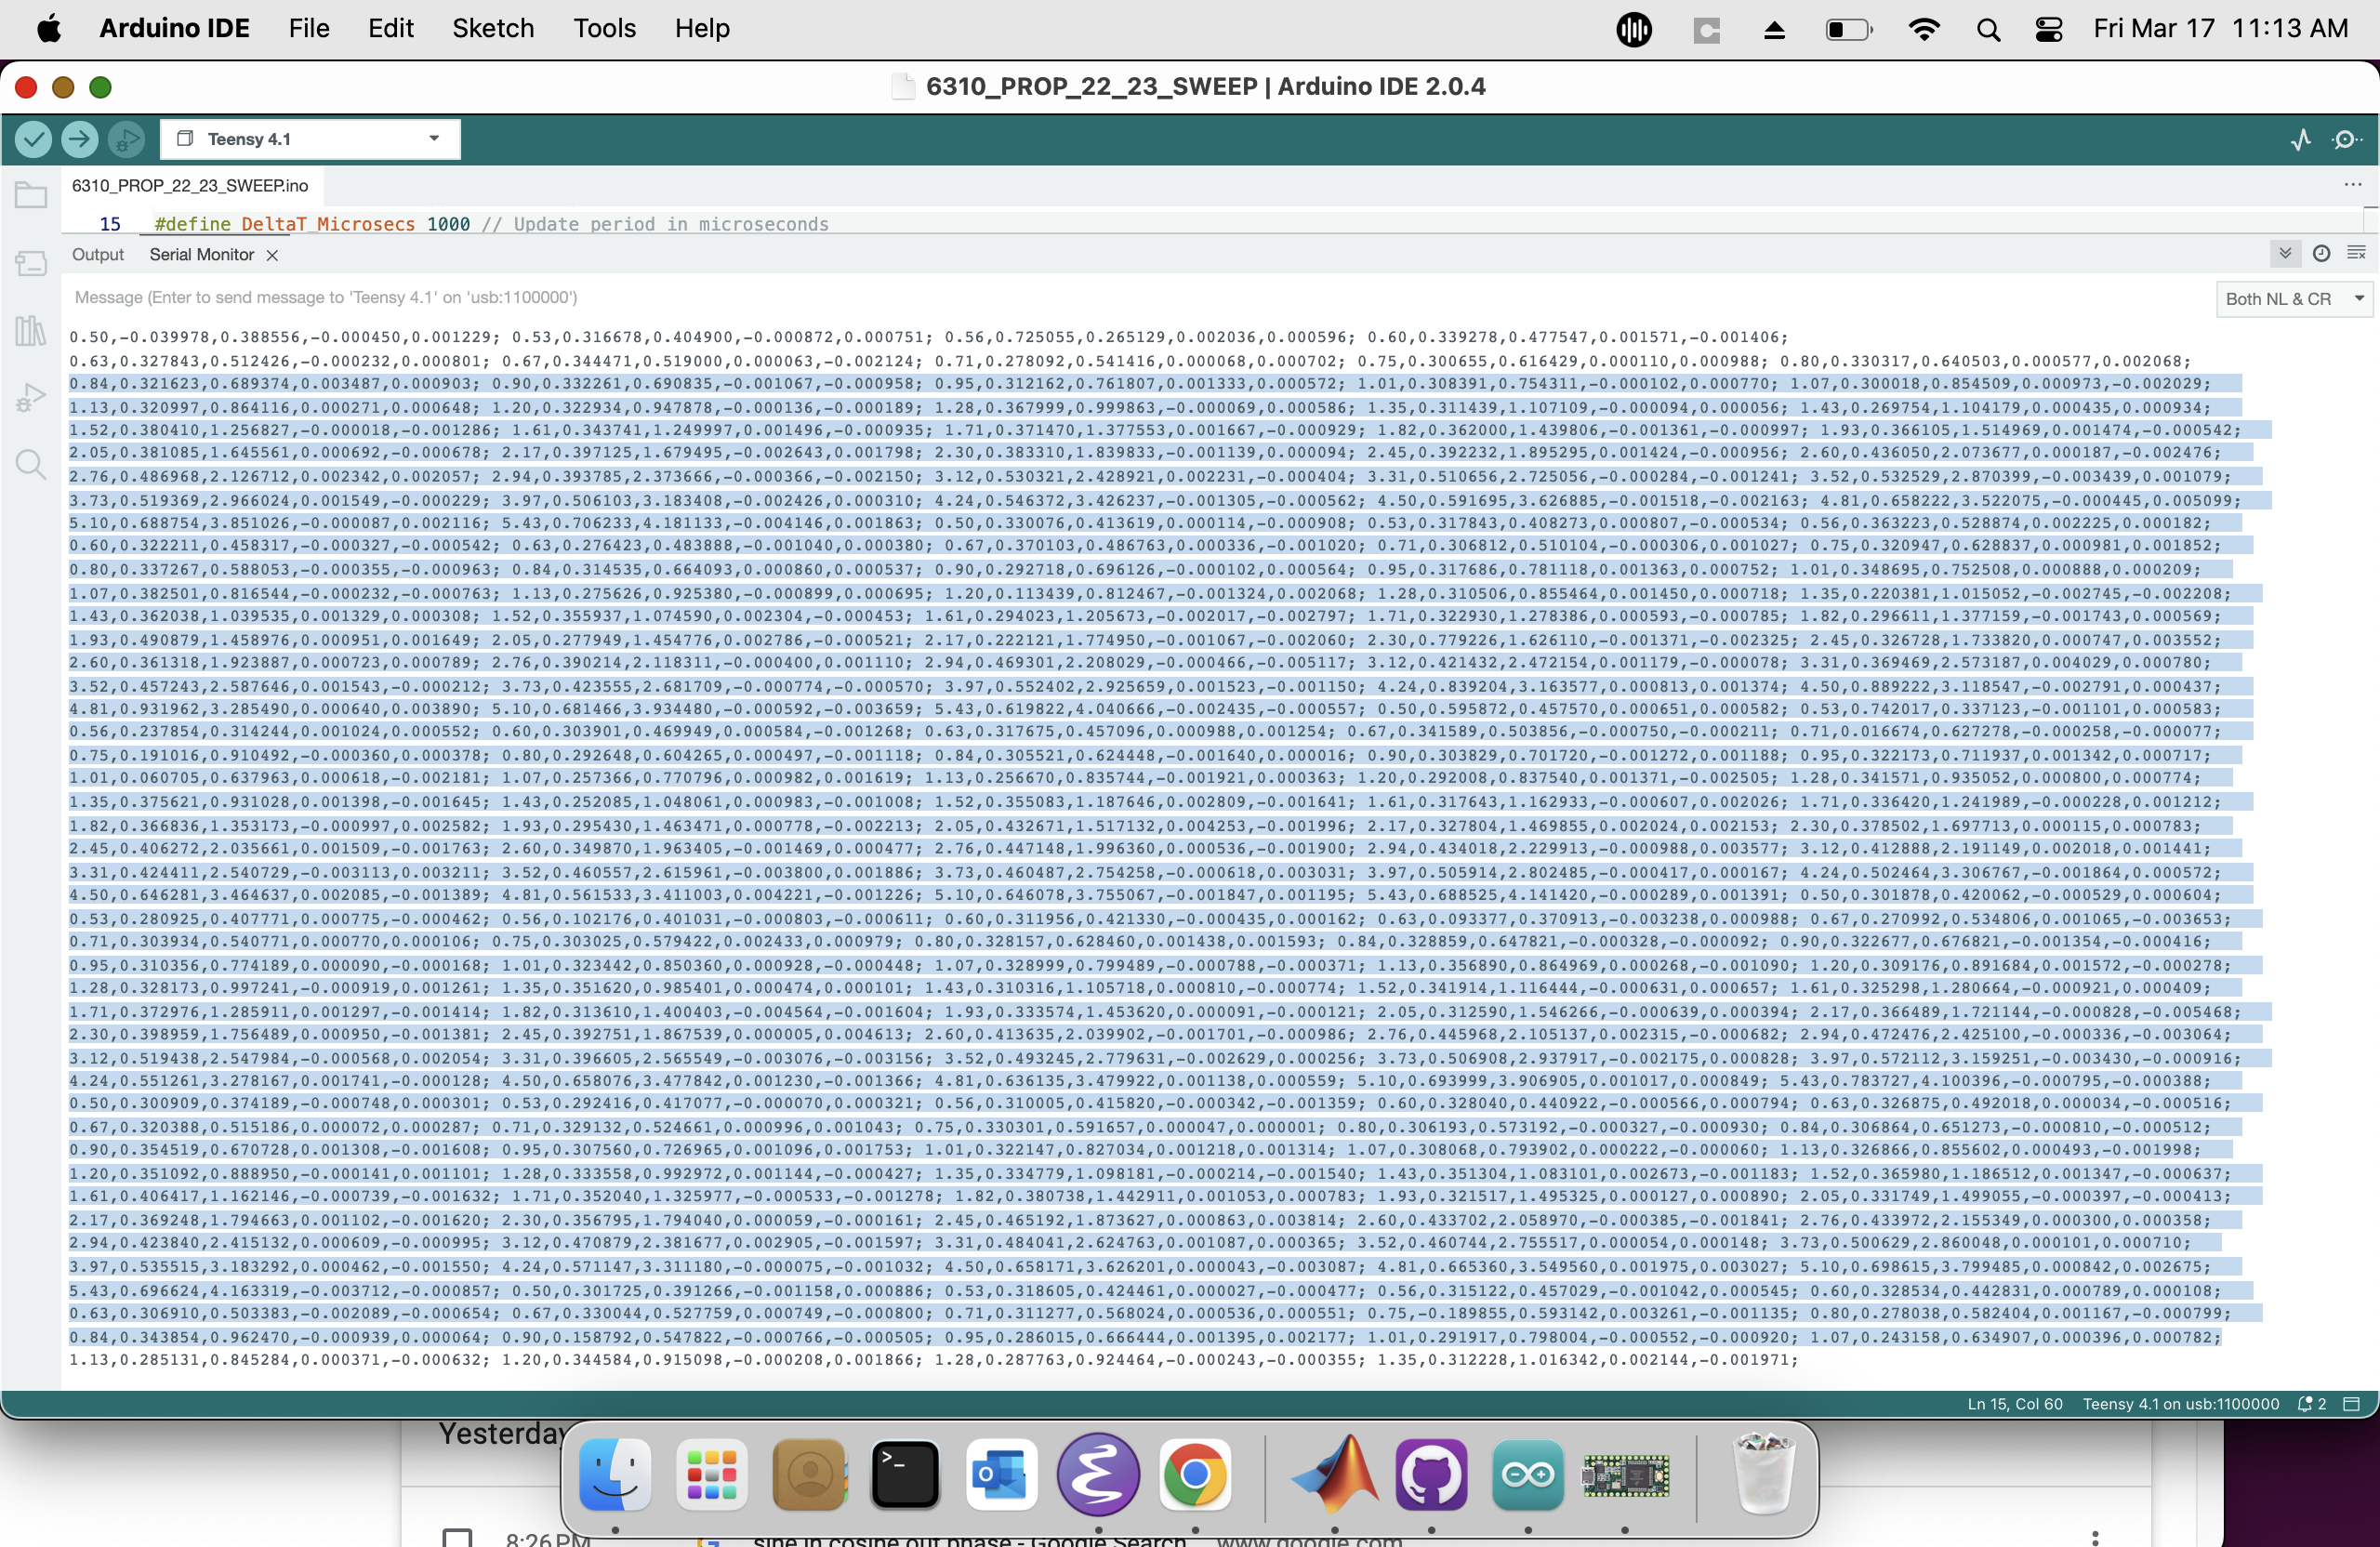
Each text line printed by the Arduino is 25 numbers long, and MUST NOT GO BEYOND THE END OF A SINGLE TEXT LINE in the serial plotter. Use the command to shrink the Arduino font if needed (command-shift-minus on the mac). Also, MAKE SURE THE TIMESTAMP IS NOT BEING PRINTED!

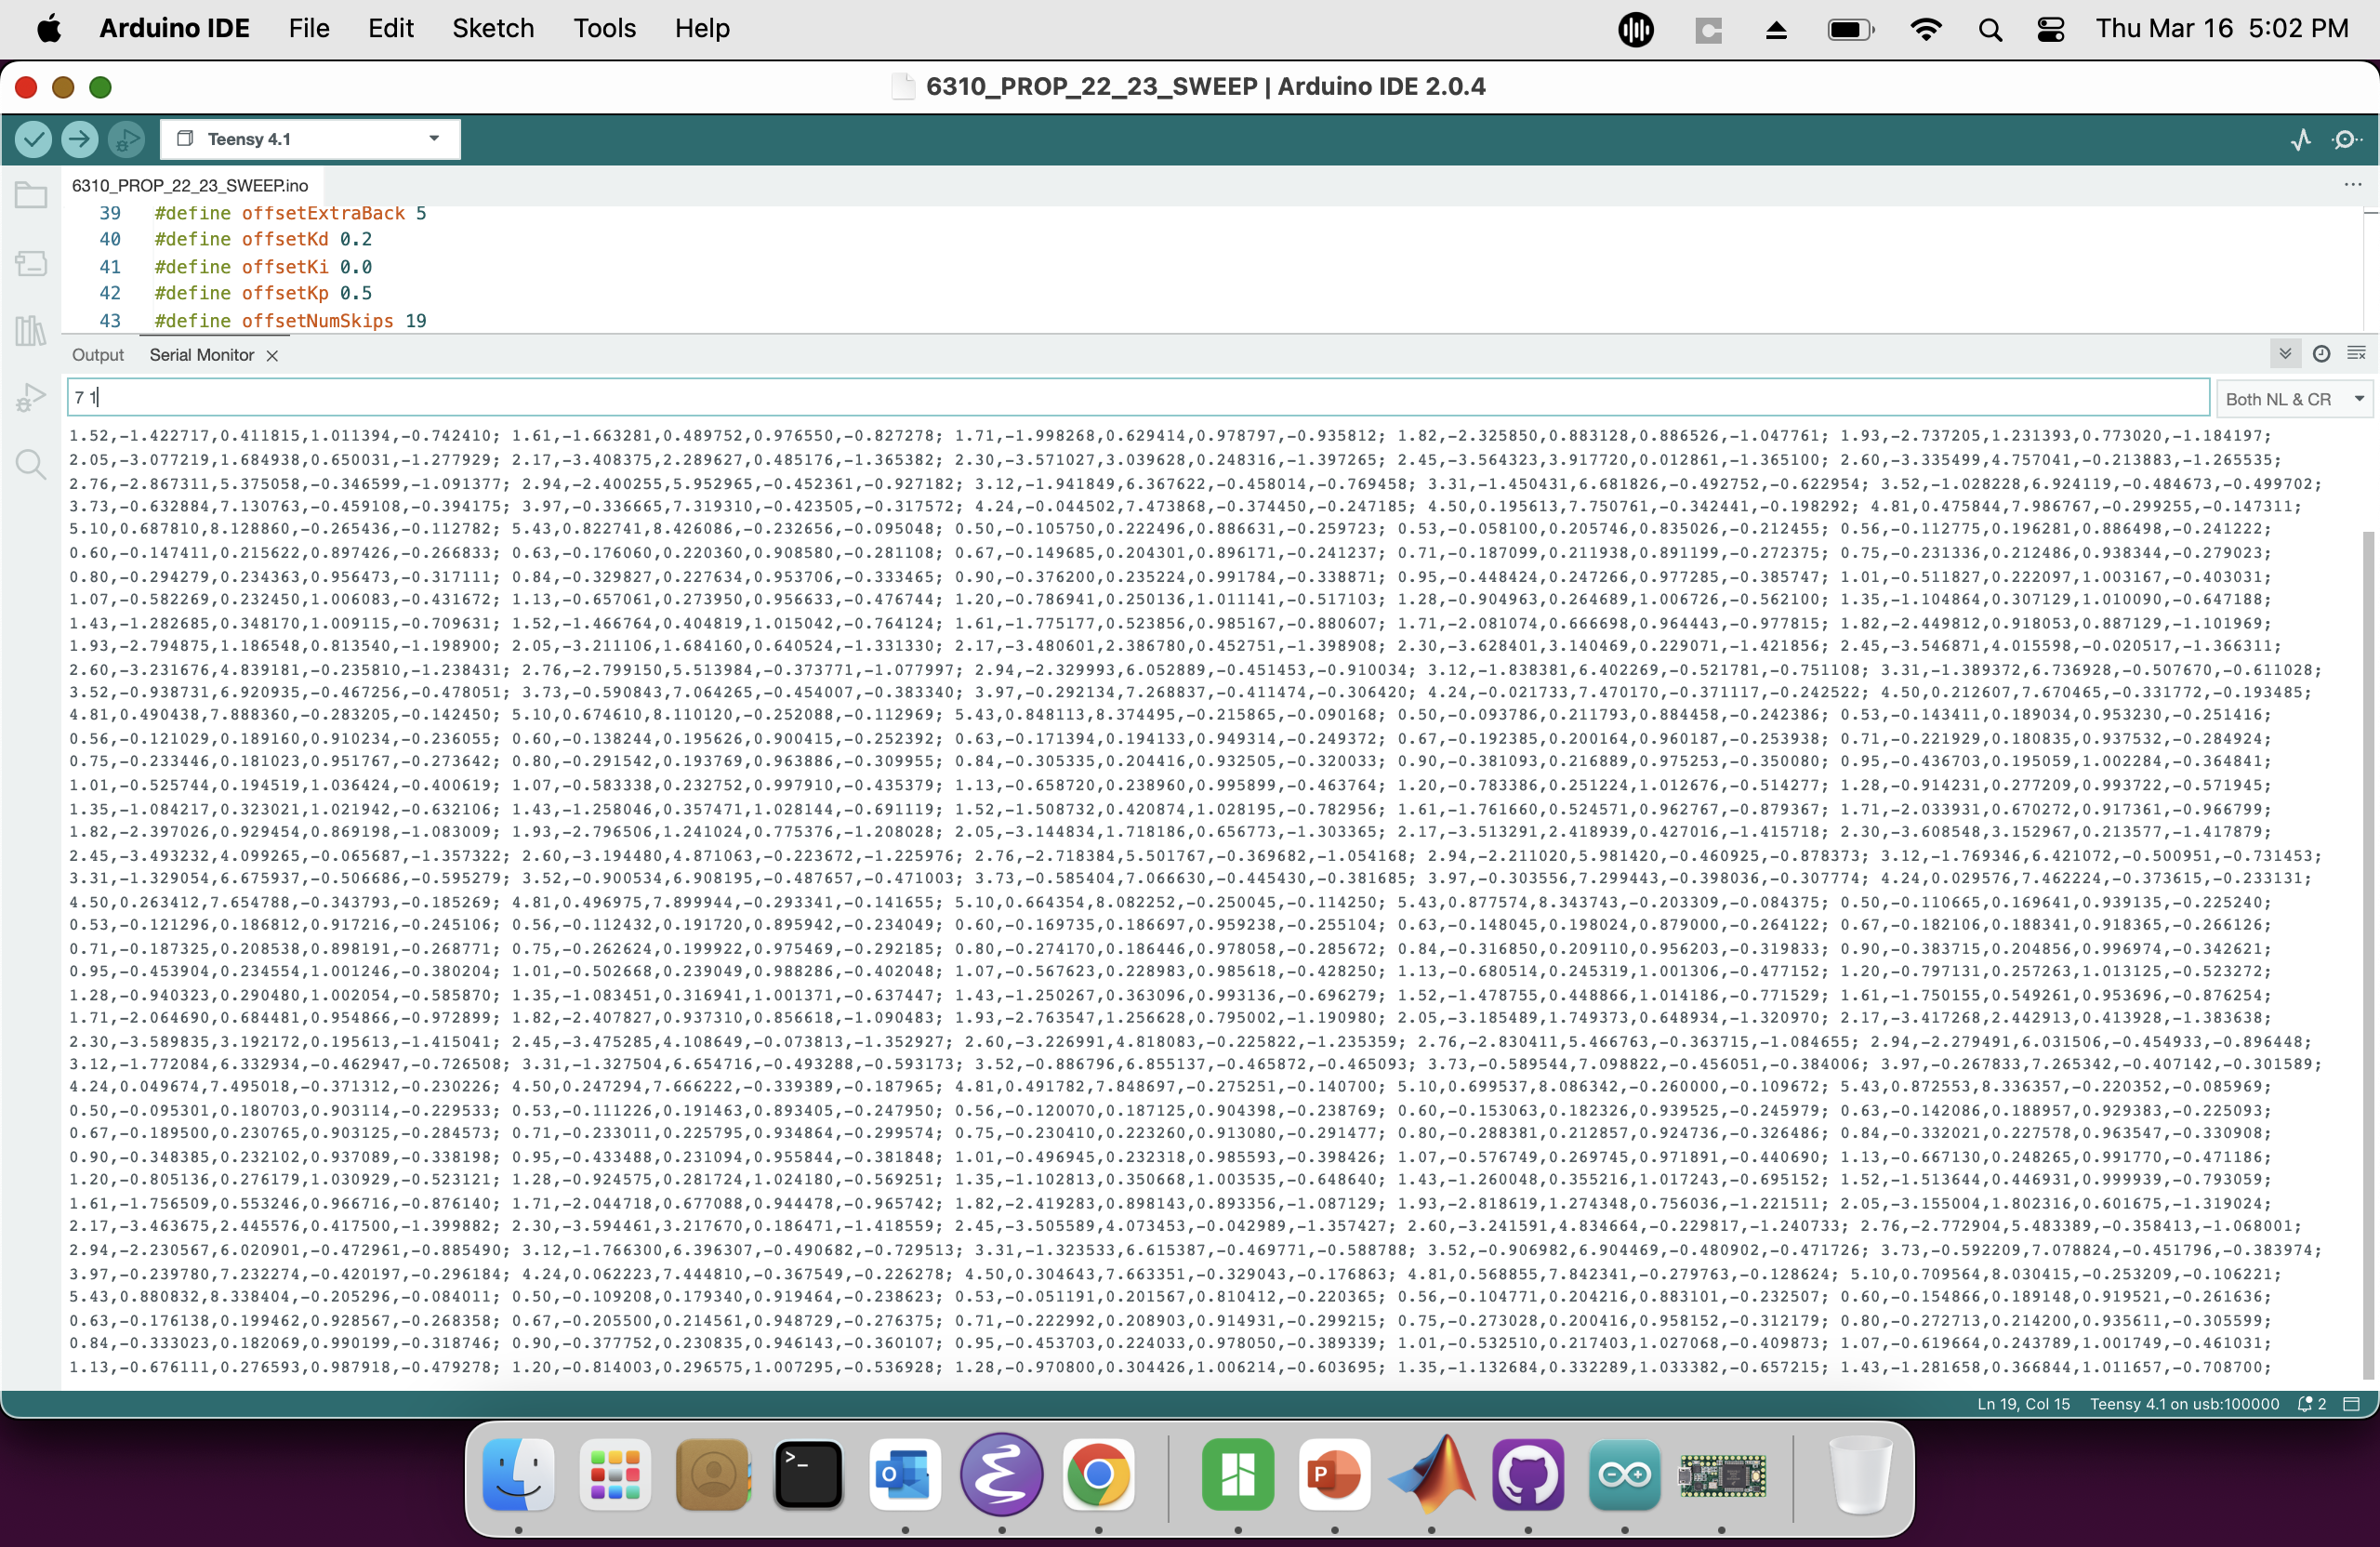
Wait for the serial monitor to show a full page of data (five to ten minutes), then type "7 1" in the send window and transmit to pause the sweeper output, as in the picture below.
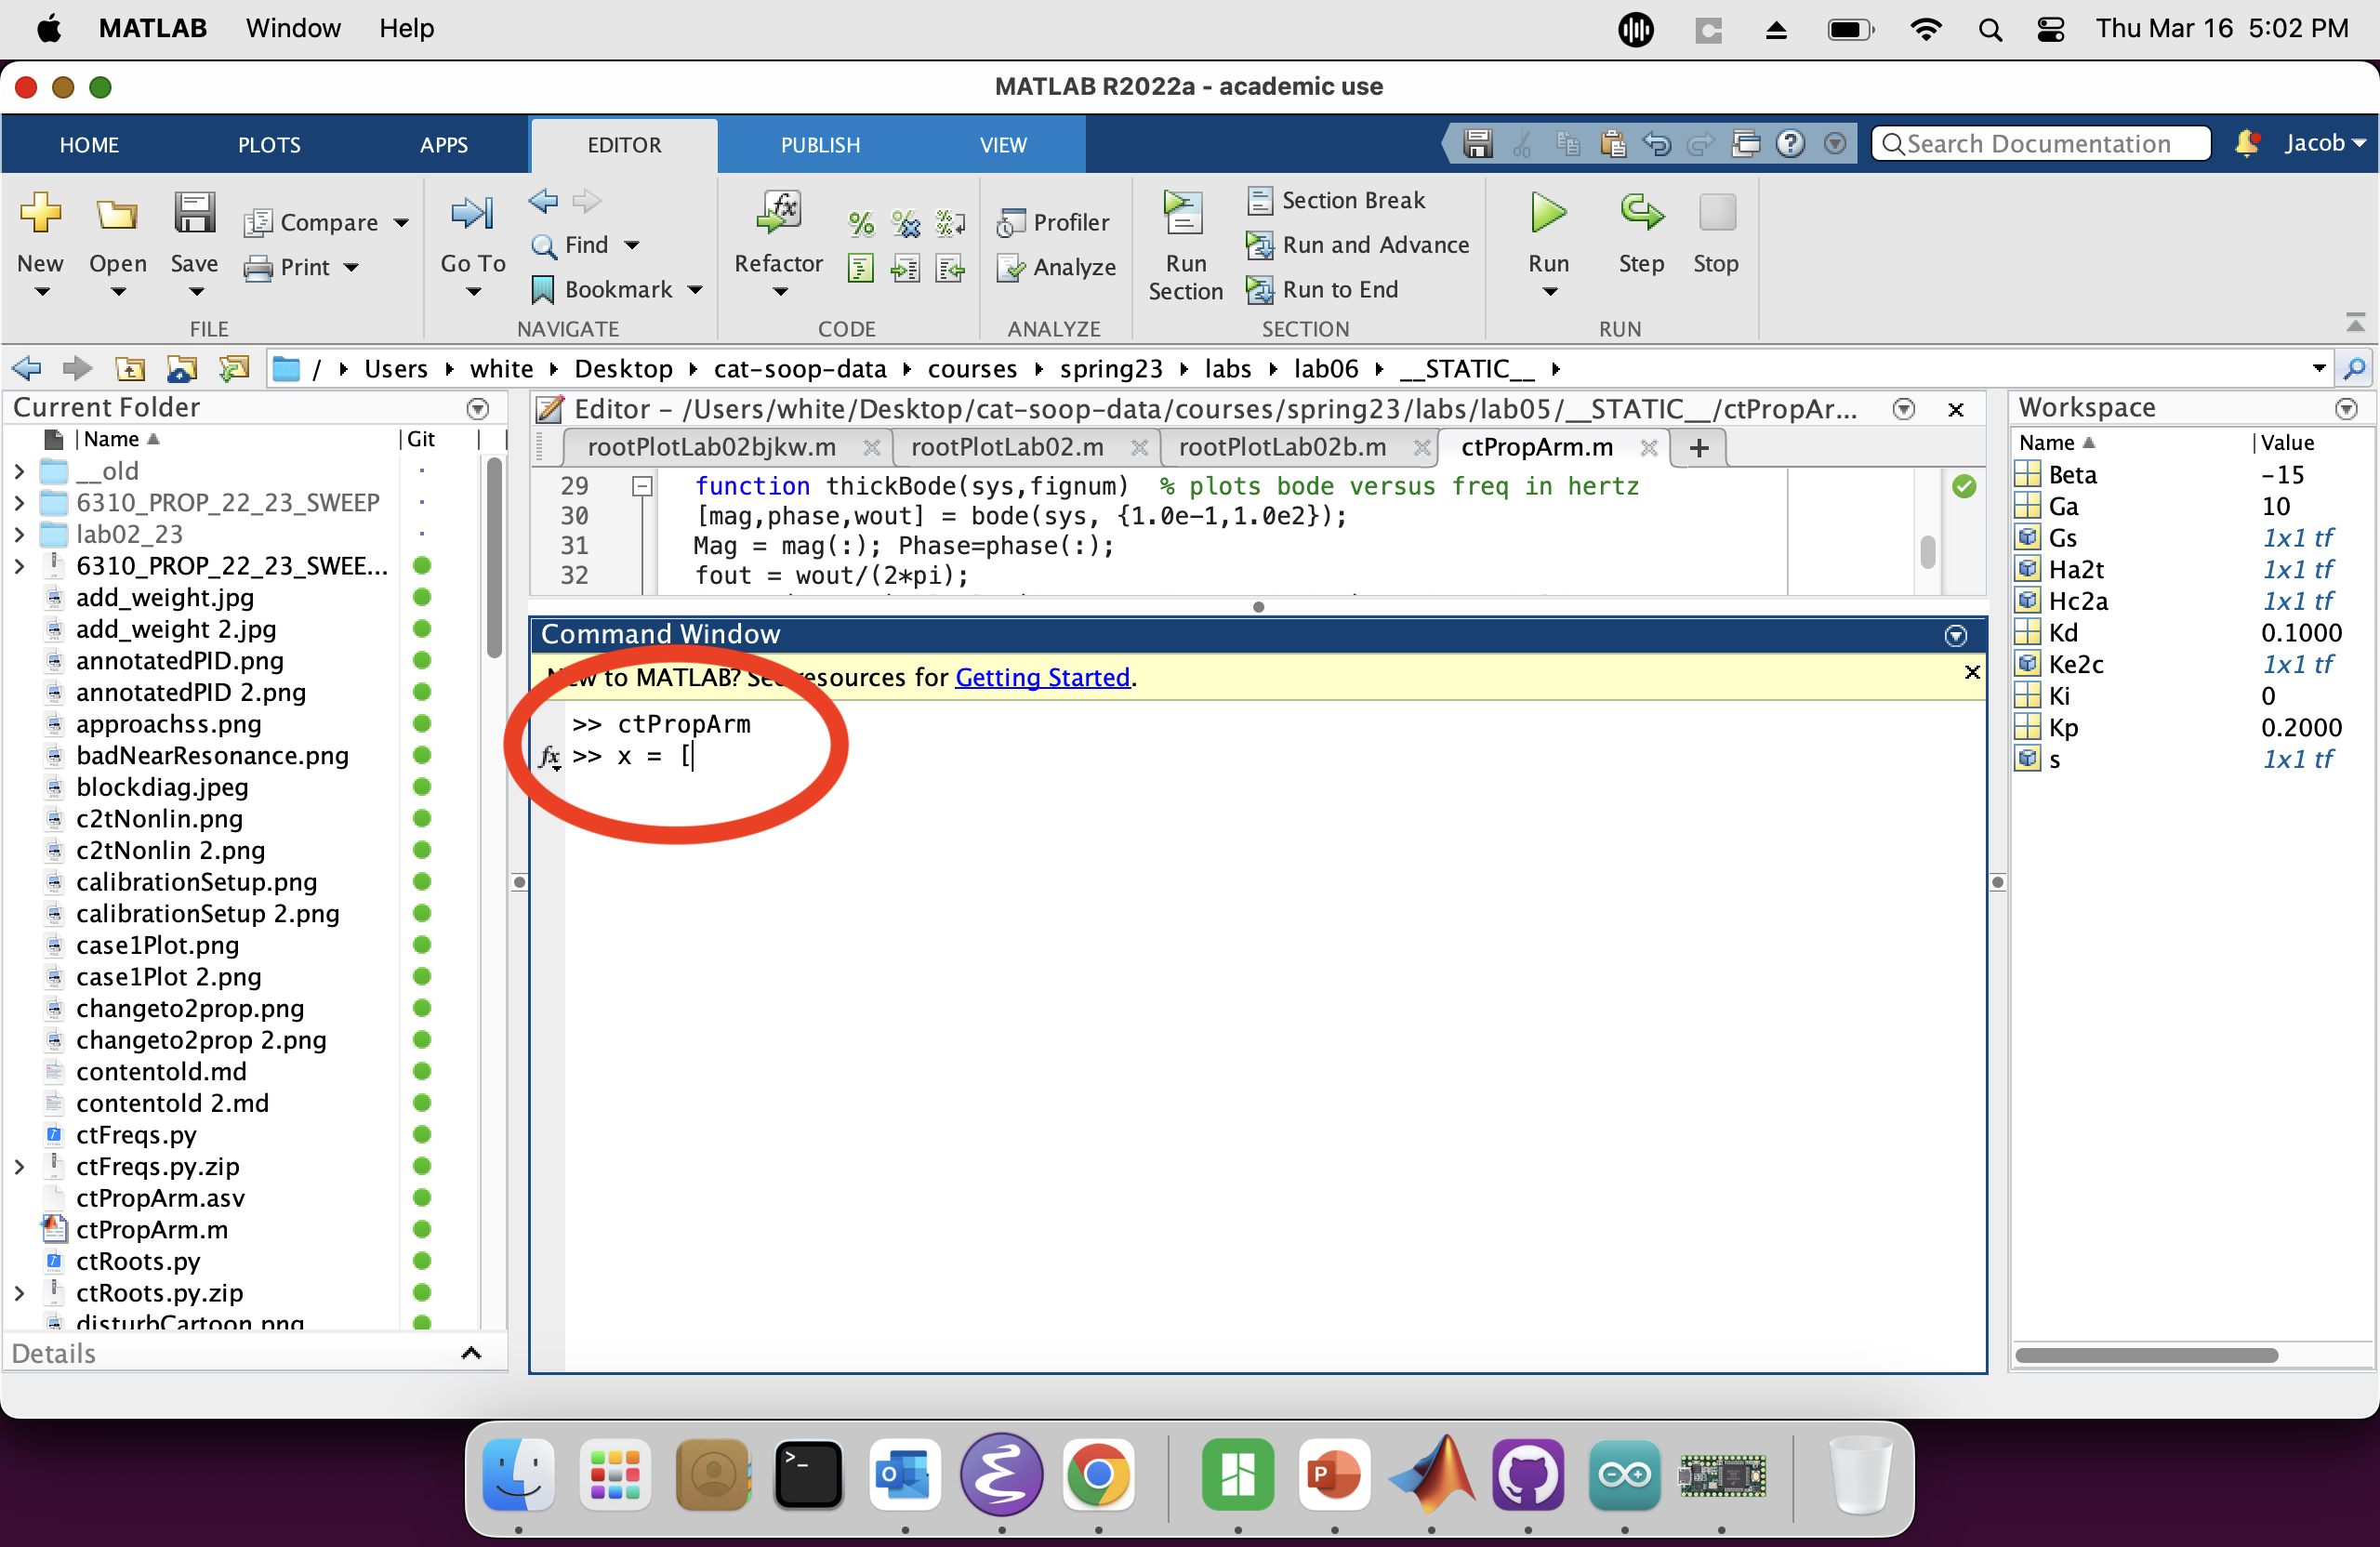
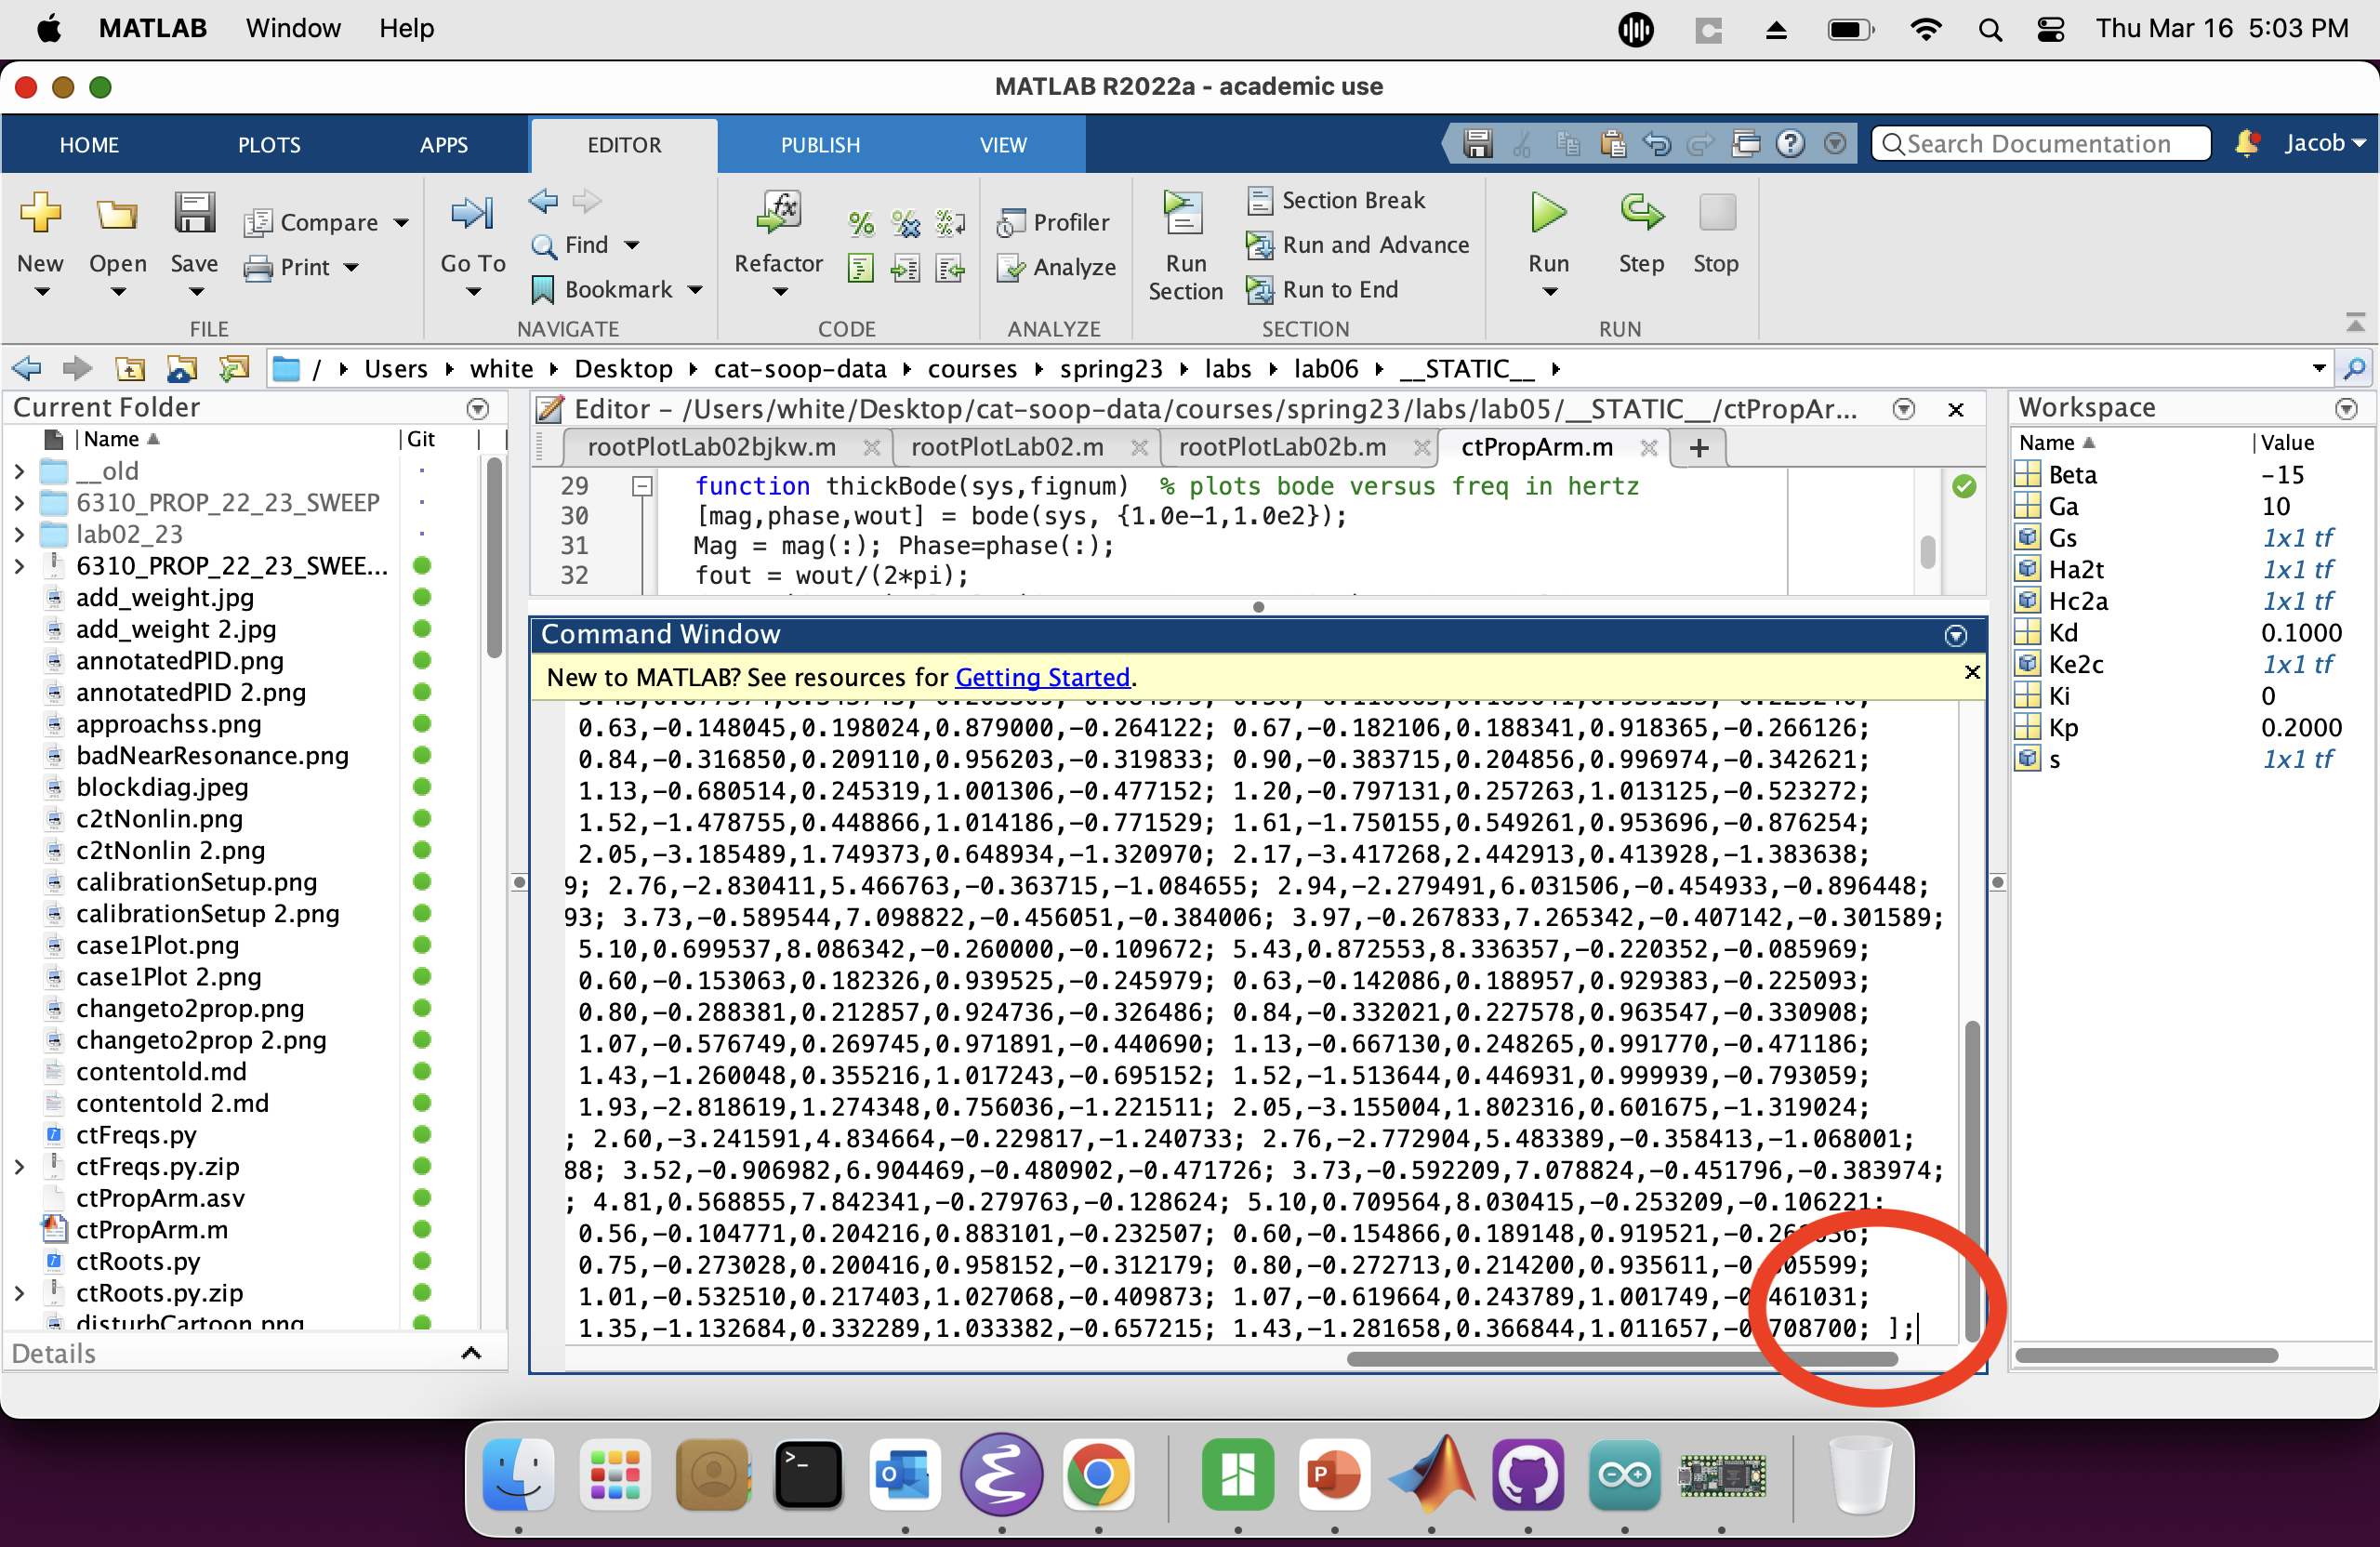
In the matlab command window, type "x = [", as in the figure below.
Copy as many complete lines as are visible in the serial plotter window, and paste them into matlab.
Then type "];" to complete the definition of a five-wide matrix.
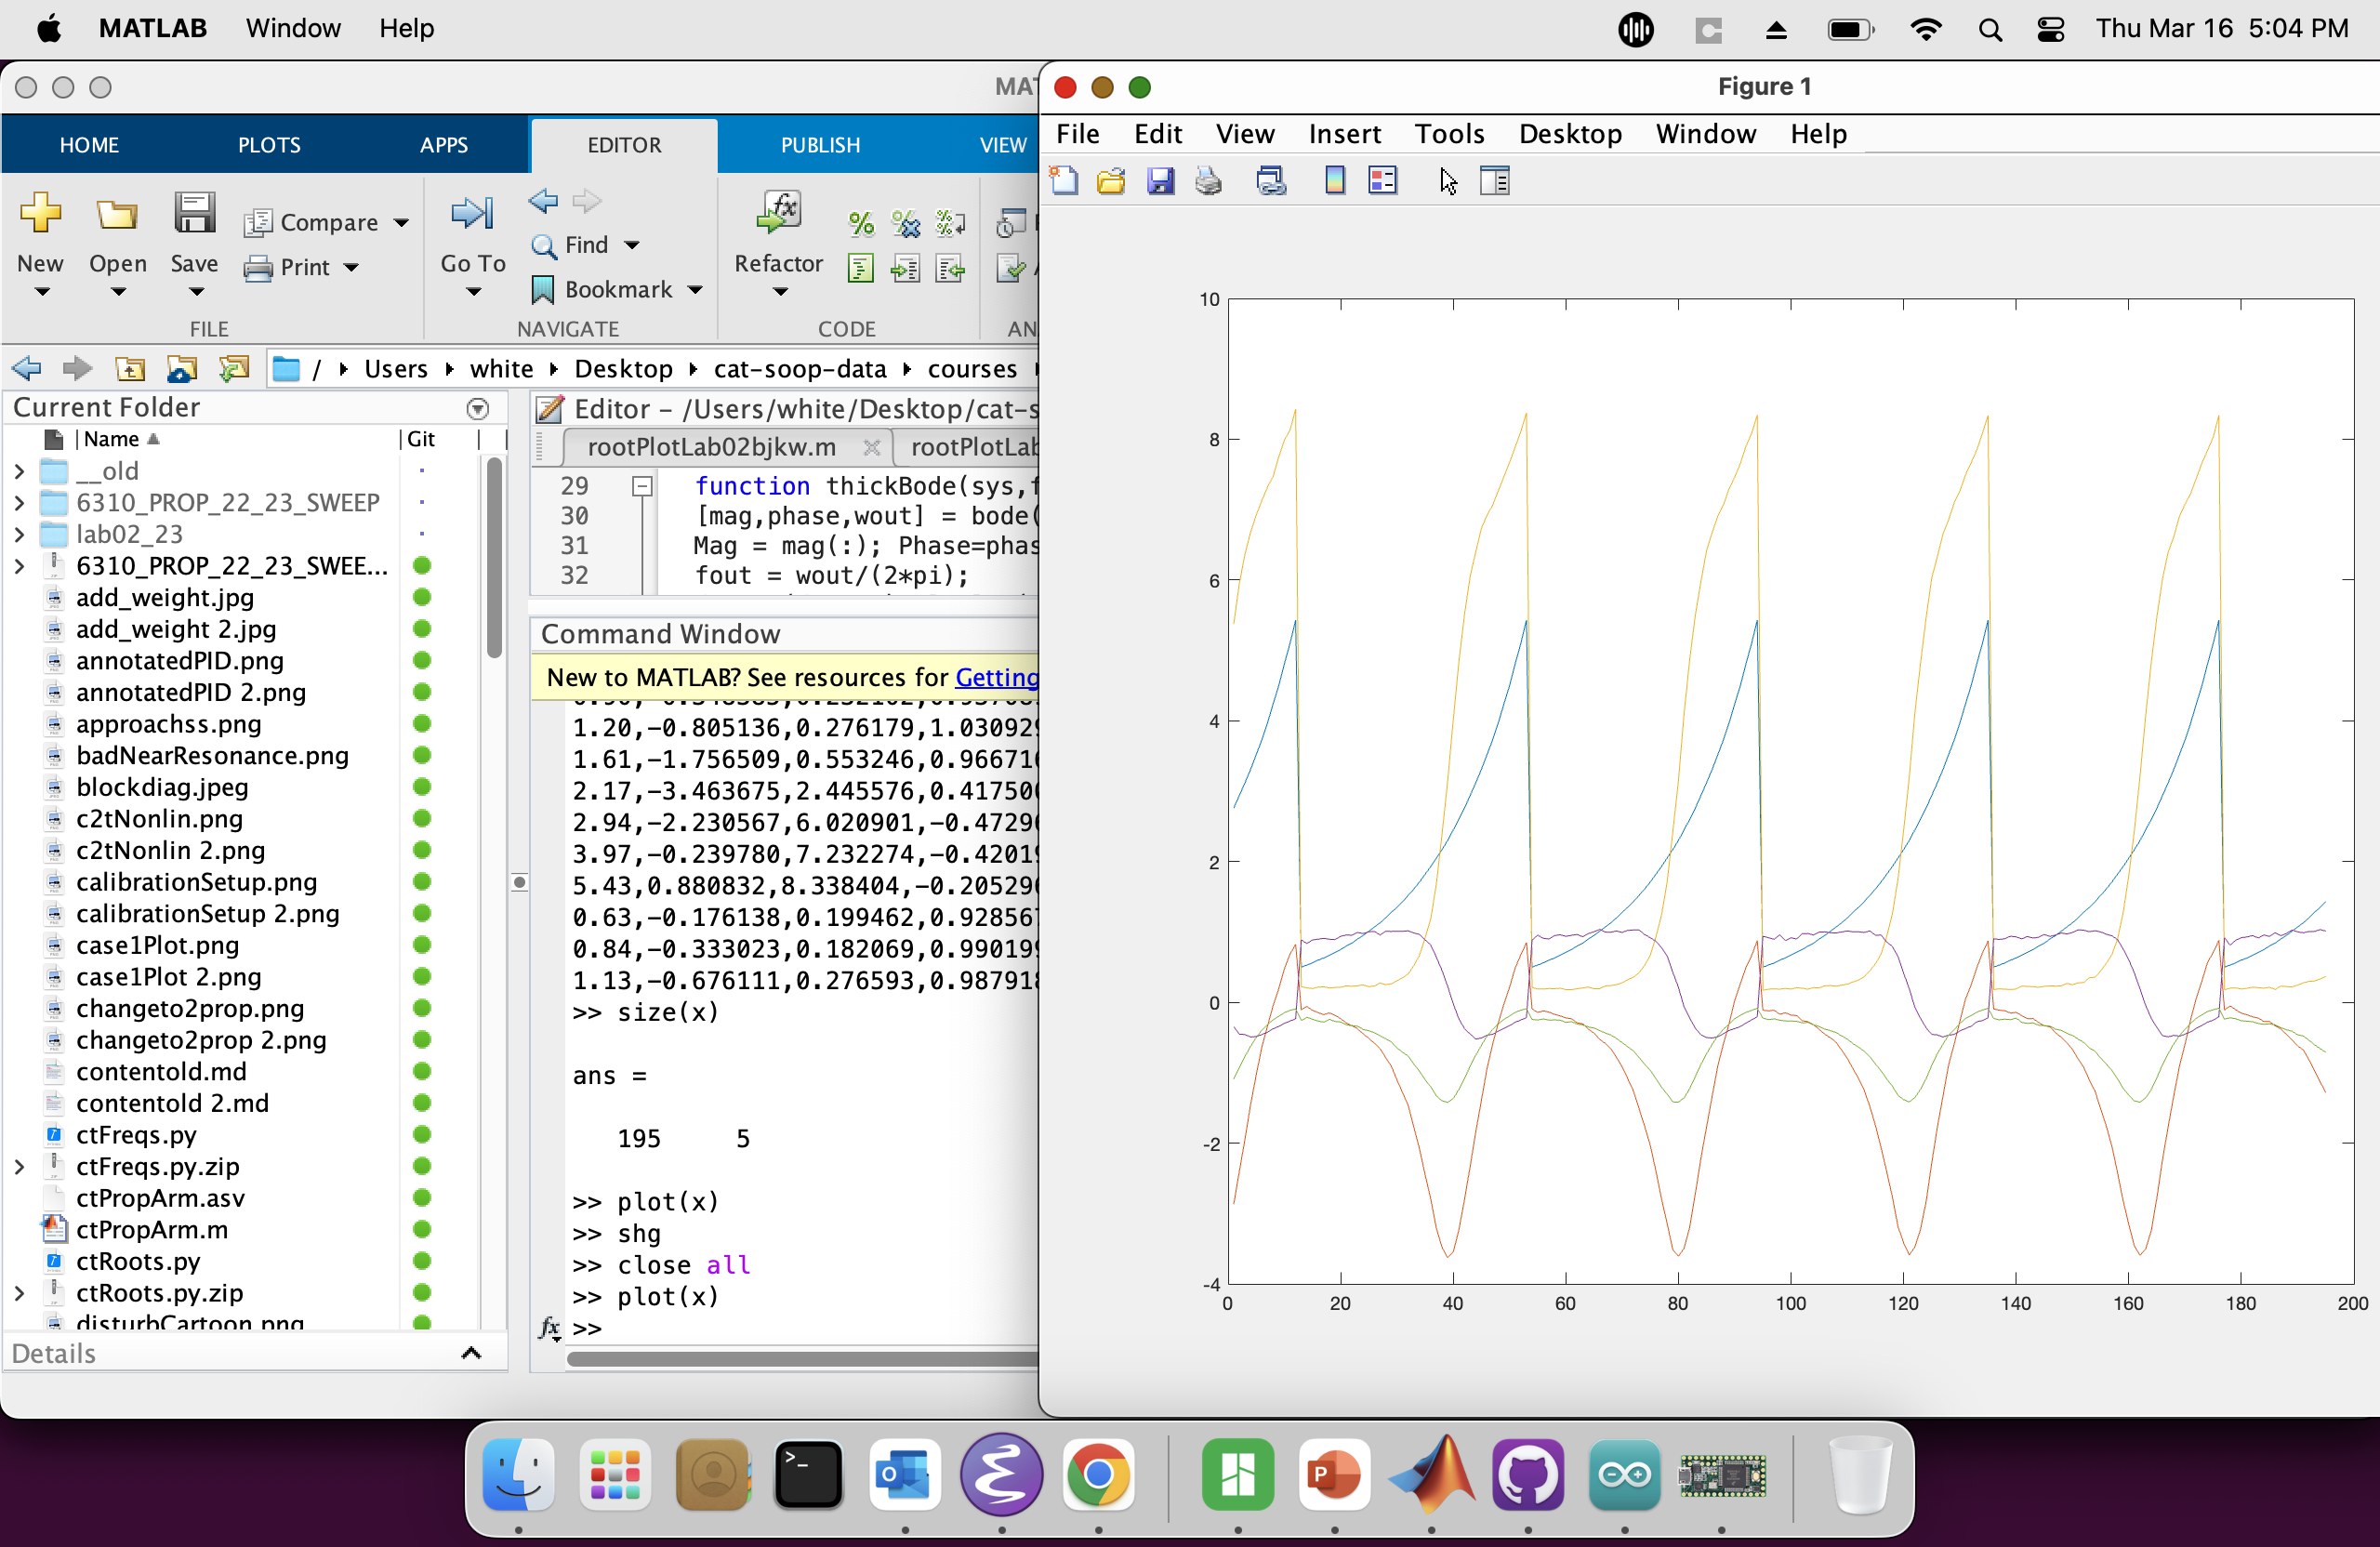
Check that the data arrived correctly in matlab by plotting it, as seen below.